Quick Overview
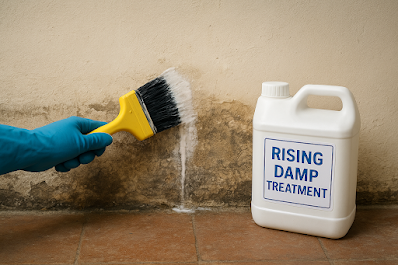
Treating rising damp starts with confirming that moisture is rising from the ground rather than coming from a leak or condensation. Once the cause has been identified, the most effective treatment usually involves repairing or installing a damp proof course, replacing damaged plaster, and allowing the walls to dry before redecorating.
Rising damp is a common problem in UK homes. It happens when moisture from the ground travels up walls, causing peeling paint, crumbling plaster, and sometimes even timber damage. If left untreated, rising damp can lead to expensive repairs and health issues from mould.
The good news? Rising damp treatment is possible — and in many cases, the right steps can protect your home before serious damage occurs. In this article, we’ll explain everything you need to know about rising damp treatment, from DIY fixes to professional solutions.
What is Rising Damp?
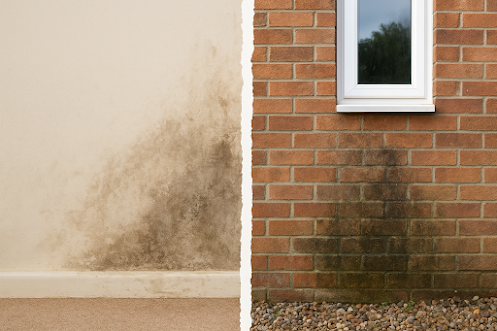
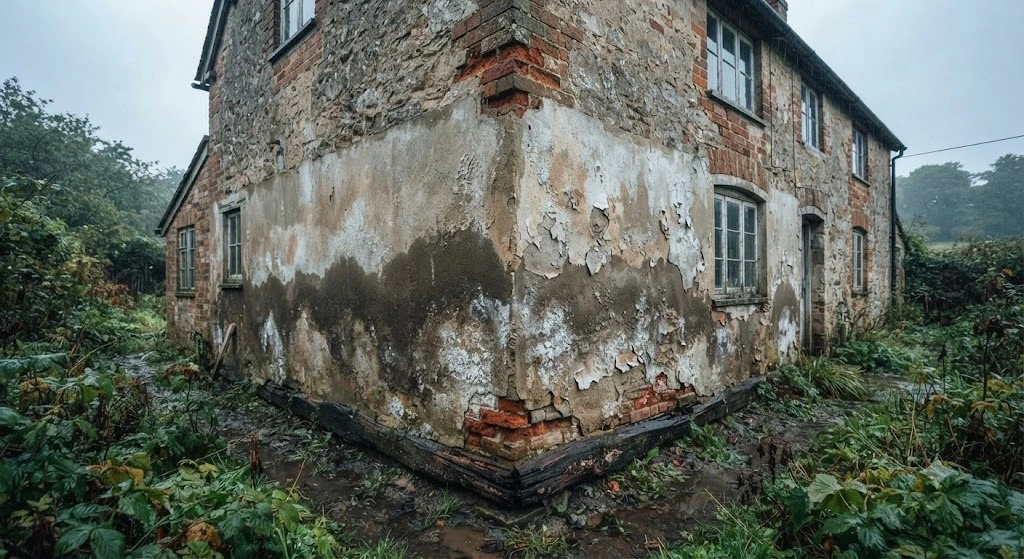
Before treating rising damp, it’s important to understand it. Rising damp occurs when water from the ground moves upwards through walls, usually because the damp-proof course (DPC) is missing, damaged, or blocked.
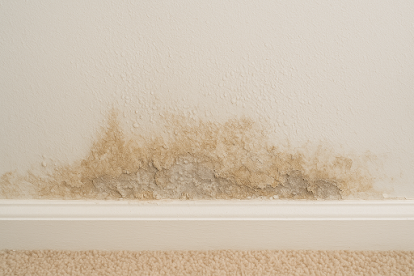
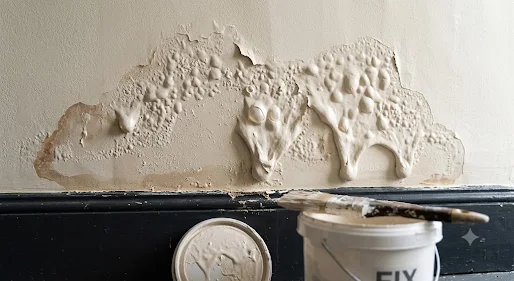
Signs of rising damp include:
- Tide marks on walls
- Bubbling or peeling paint
- Musty smells
- Soft or rotting timber
- White salt deposits (efflorescence)
The lower parts of walls are most affected, but if ignored, rising damp can reach higher areas, causing more severe damage.
Why Treat Rising Damp Early
Treating rising damp quickly is important because:
- Prevents structural damage: Moisture can weaken plaster, bricks, and timber.
- Protects health: Damp walls encourage mould growth, which can trigger allergies and asthma.
- Saves money: Early treatment is usually cheaper than repairing widespread damage.
DIY Rising Damp Treatment Options
For minor cases of rising damp, there are several steps homeowners can take themselves. These DIY options are simple, affordable, and often effective if the problem hasn’t spread extensively.
1. Improve Ventilation
Proper airflow helps walls dry out and prevents condensation from making rising damp worse. Simple steps include:
- Opening windows regularly
- Using extractor fans in kitchens and bathrooms
- Moving furniture away from walls to let air circulate
2. Use a Dehumidifier
Dehumidifiers remove moisture from the air, which can reduce damp levels in affected rooms. They are especially useful during wet winters, when rising damp often worsens.
3. Apply Damp-Proof Creams
Chemical damp-proof creams can be injected into walls to block moisture from rising. This method is effective for small sections of wall and is relatively low-cost compared to full professional treatment.
4. Temporary Sealants
For minor damp spots, temporary sealants can prevent water from seeping further into plaster. However, this is a short-term fix and shouldn’t replace proper treatment.
Professional Rising Damp Treatment
If rising damp is widespread, DIY solutions may not be enough. Professionals have tools, knowledge, and techniques to treat rising damp effectively.
Common Professional Treatments
- Chemical Damp-Proof Courses
- Chemicals are injected into walls to create a barrier against rising moisture.
- This is a reliable long-term solution and suitable for most UK homes.
- Physical Damp-Proof Membranes
- A physical barrier, often a plastic membrane, is installed in walls to block rising damp.
- Used in cases where chemical DPCs aren’t suitable.
- Plaster Replacement
- Damaged plaster may need to be removed and replaced after rising damp is treated.
- This prevents mould growth and ensures walls remain healthy.
- Timber Treatment
- If rising damp has affected skirting boards or floorboards, specialists may apply timber preservatives to prevent rot.
How to Choose the Right Rising Damp Treatment
Choosing the right treatment depends on:
- Severity: How much of your home is affected?
- Age of the property: Older homes may require different approaches than modern buildings.
- Budget: DIY options are cheaper, but professional treatment is often more effective.
- Long-term effectiveness: Temporary fixes may save money short-term but could cost more later.
Tip: Even if you plan to start with DIY, it’s a good idea to have a professional surveyor inspect your home. They can confirm whether the rising damp is minor or needs a full treatment plan.
Preventing Rising Damp in the Future
After treating rising damp, it’s important to prevent it from returning. Here’s how:
- Keep gutters and downpipes clear to prevent water pooling near walls.
- Ensure good ventilation in rooms prone to moisture.
- Lift carpets occasionally to check for damp under flooring.
- Repair cracks and ensure the damp-proof course is working.
- Monitor walls regularly for early signs of rising damp.
Small preventative steps go a long way in keeping your home dry and healthy.
Common Mistakes to Avoid
- Ignoring early signs: Tide marks or peeling paint should never be ignored.
- Using paint over damp walls: This only covers the problem temporarily.
- Delaying professional help: Some rising damp problems worsen quickly if not treated properly.
- Over-relying on DIY for serious cases: Large areas of rising damp need professional intervention.
Cost of Rising Damp Treatment
The cost varies depending on severity, size of the affected area, and type of treatment. Typical ranges in the UK:
- DIY damp-proof cream: £50–£200
- Professional chemical DPC: £500–£1,500+
- Plaster replacement or timber repair: £300–£2,000 depending on damage
Investing early in proper rising damp treatment often saves money over time, compared to repeated DIY fixes or major repairs.
Conclusion
Rising damp is common, but it’s manageable with the right knowledge and action. Early detection, practical DIY solutions, and professional treatment when needed will protect your home, save money, and keep your family healthy.
At DampStopper, we’re here to guide UK homeowners through every step of rising damp treatment — from spotting the signs to choosing the right solution.